


Developing a WordPress Theme from Scratch - Part 2
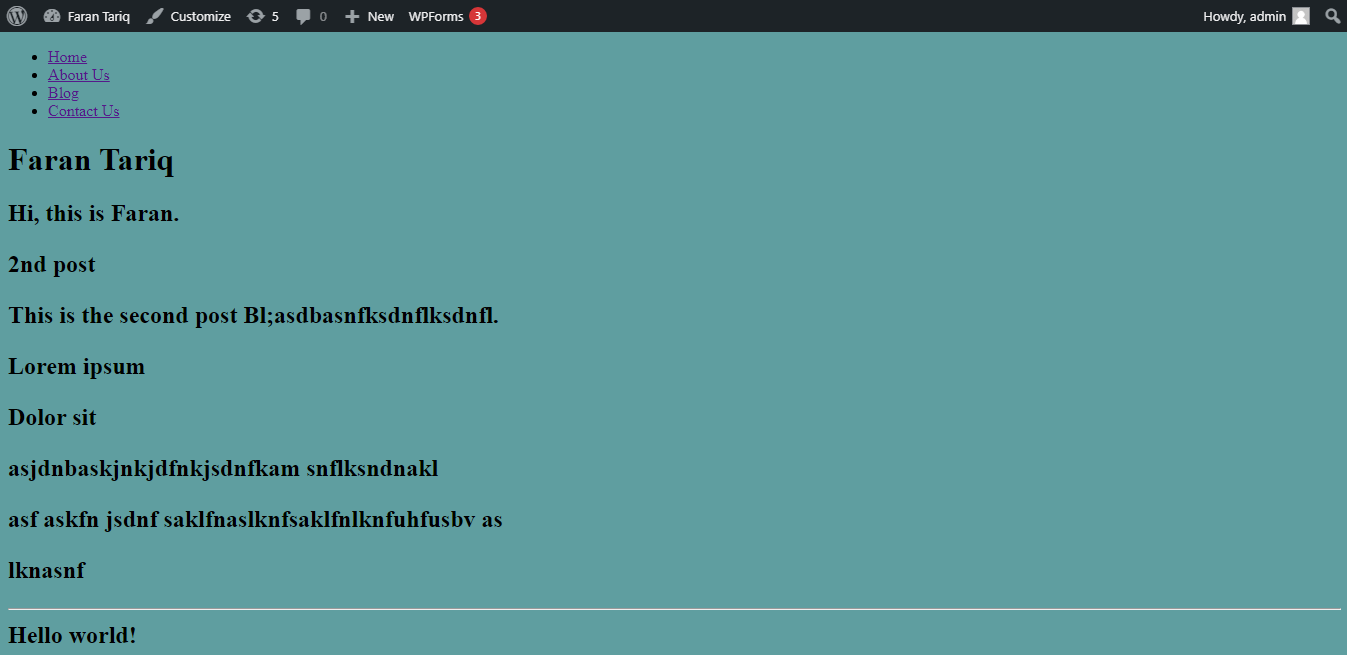
This is where we left off:

Adding a Navigation
Lets start by adding a navigation.
To add navigation we'll create a new file 'functions.php'.
The functions.php file behaves like a WordPress plugin, adding features and functionality to a WordPress site. You can use it to call WordPress functions and to define your own functions.
Inside functions.php we'll register our navigation:
    <?php
    function register_my_menu() {
        register_nav_menus(
            array(
                'header-menu' => 'Header Menu',
            )
        );
    }
    add_action( 'init', 'register_my_menu' );
    ?>
Explanation: First we declare a function named 'register_my_menu', you don't need to call your function 'register_my_menu', you can call it whatever you want. Then we use a WordPress built-in function 'register_nav_menu' to register a menu by providing location(header-menu) and description(Header Menu). Finally we use an action Hook to run our function when WordPress has finished loading using the init hook.
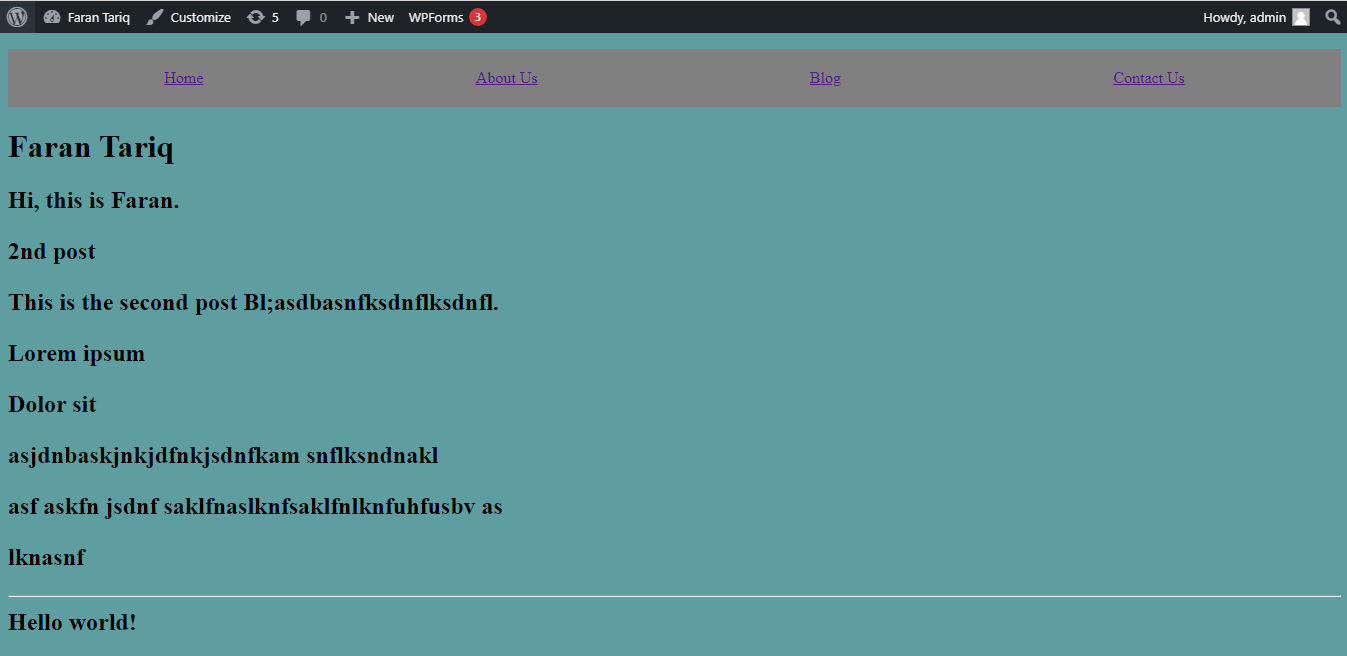
Now to display the header we have to use the 'wp_nav_menu()' function at the location where we want to display the nav.
Lets add the navigation after the opening body tag inside our index.php:
    <!DOCTYPE html>
    <html>
        <head>
            <meta charset="<?php bloginfo( 'charset' ); ?>">
            <meta http-equiv="X-UA-Compatible" content="IE=edge">
            <meta name="viewport" content="width=device-width, initial-scale=1.0">
            <title>My New Theme</title>
            <link rel="stylesheet" href="<?php echo esc_url( get_stylesheet_uri() ); ?>" type="text/css" />
            <?php wp_head(); ?>
        </head>
        <body>
            <?php
            wp_nav_menu(
                array(
                    'theme_location' => 'header-menu'
                )
            );
            ?>
            <h1><?php bloginfo( 'name' ); ?></h1>
            <h2><?php bloginfo( 'description' ); ?></p>
            <?php
            if ( have_posts() ) :
                while ( have_posts() ) : the_post();
                    the_title();
                    the_content();
                    echo '<hr>';
                endwhile;
            endif;
            ?>
            <?php wp_footer(); ?>
        </body>
    </html>
We can use the 'menu' class to style the navigation menu in our css.
.menu {
    list-style: none;
    display: flex;
    justify-content: space-around;
    padding: 20px;
    background: gray;
}
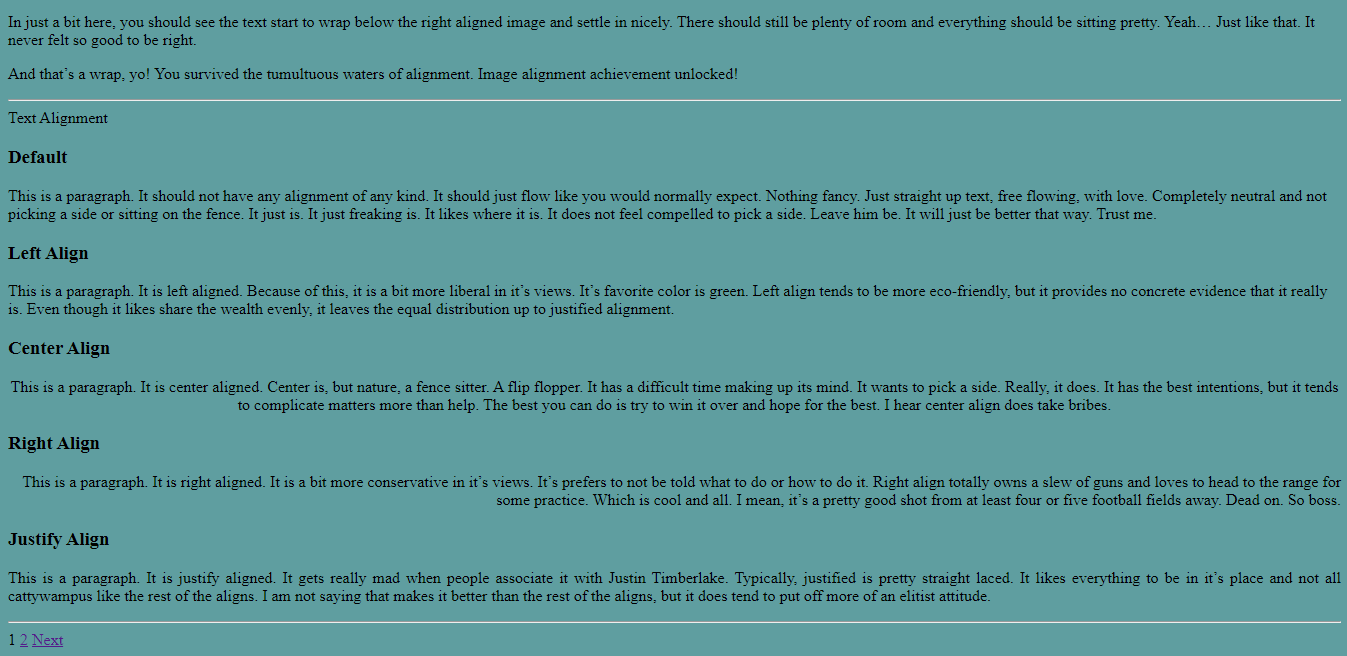
Adding Pagination
To add pagination we'll use 'the_posts_pagination()' template tag inside our index.php.
<!DOCTYPE html>
    <html>
        <head>
            <meta charset="<?php bloginfo( 'charset' ); ?>">
            <meta http-equiv="X-UA-Compatible" content="IE=edge">
            <meta name="viewport" content="width=device-width, initial-scale=1.0">
            <title>My New Theme</title>
            <link rel="stylesheet" href="<?php echo esc_url( get_stylesheet_uri() ); ?>" type="text/css" />
            <?php wp_head(); ?>
        </head>
        <body>
            <?php
            wp_nav_menu(
                array(
                    'theme_location' => 'header-menu'
                )
            );
            ?>
            <h1><?php bloginfo( 'name' ); ?></h1>
            <h2><?php bloginfo( 'description' ); ?></p>
            <?php
            if ( have_posts() ) :
                while ( have_posts() ) : the_post();
                    the_title();
                    the_excerpt();
                    echo '<hr>';
                endwhile;
            endif;
            the_posts_pagination();
            ?>
            <?php wp_footer(); ?>
        </body>
    </html>
}
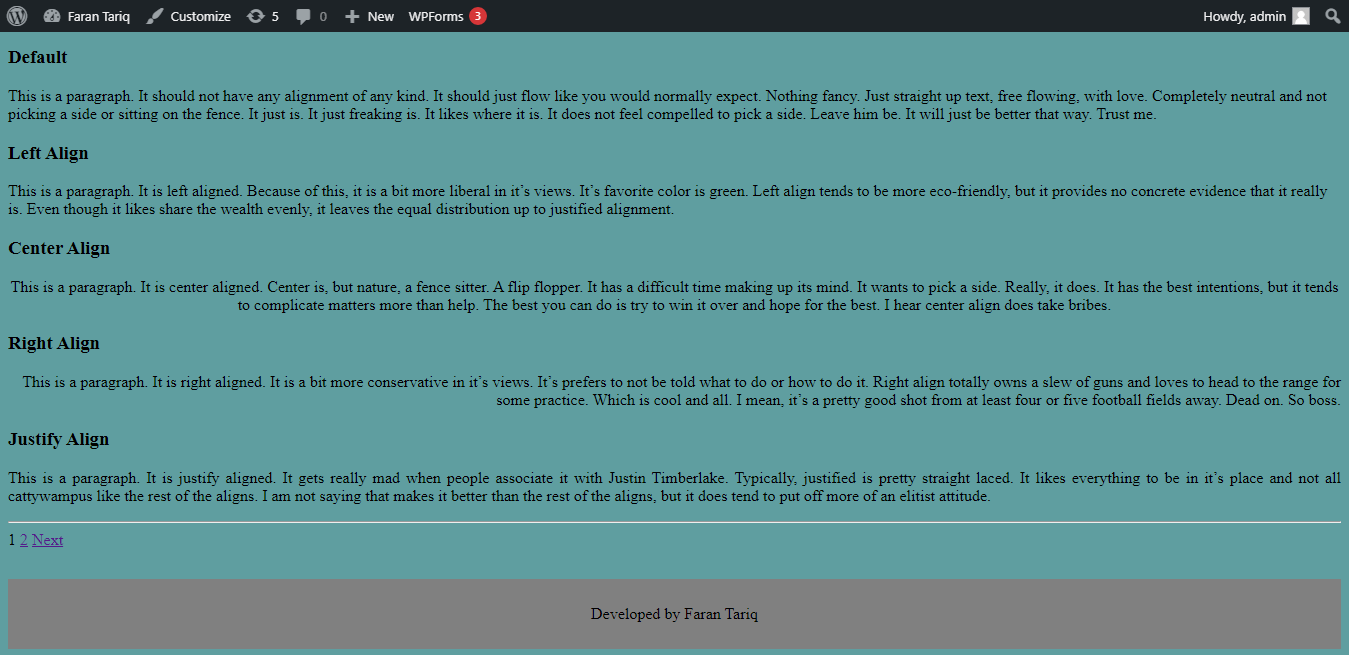
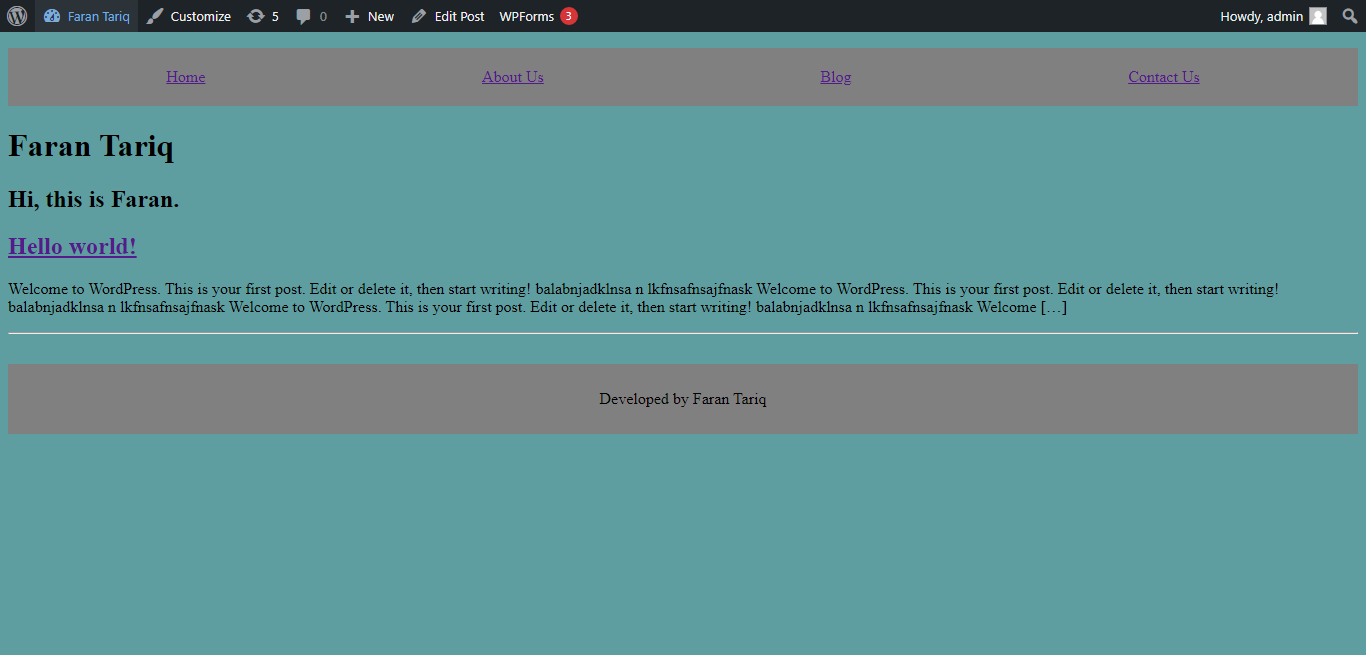
Adding a Footer
<footer>
    <p>Developed by Faran Tariq</p>
    <?php wp_footer(); ?>
</footer>
footer {
display: flex;
justify-content: center;
align-items: center;
background-color: gray;
margin: 30px 0 0 0;
height: 70px;
}
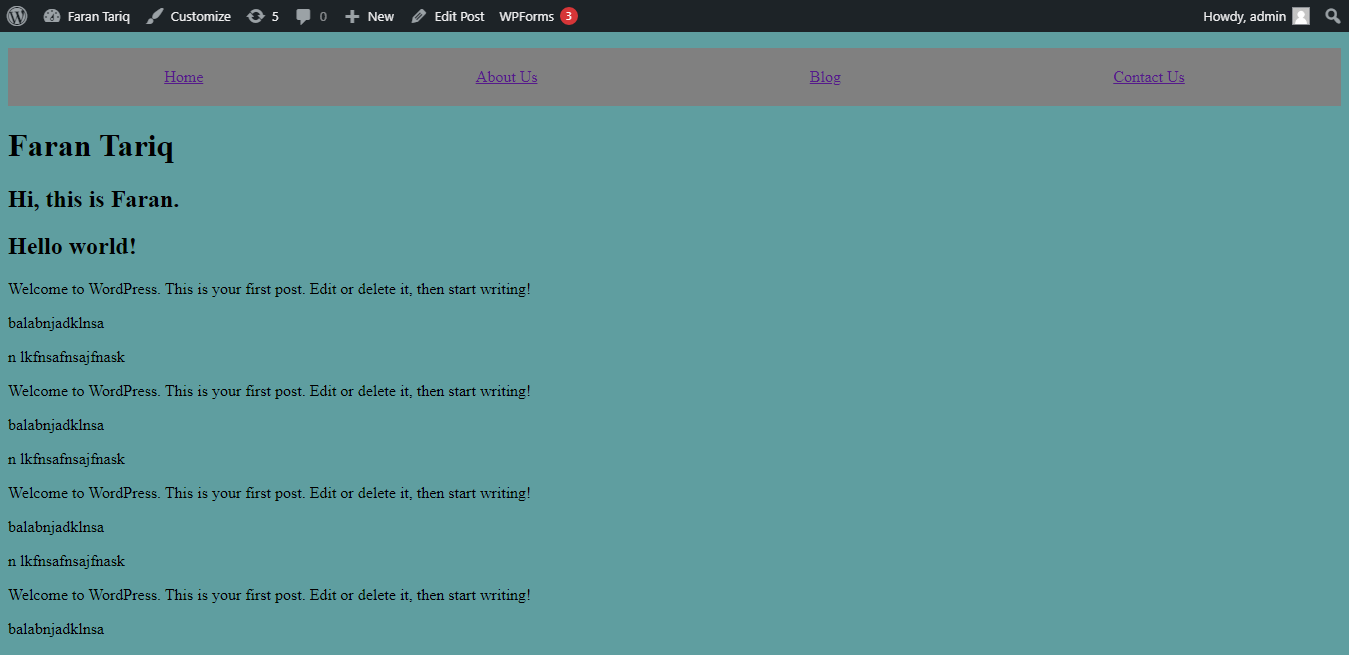
Updating the Posts
Right now every post on the homepage is displaying its complete content. We are going to change it so that on the homepage only an excerpt of the content is displayed and to view the complete content user will have to click on the post.
To do that we'll change 'the_content()' template tag to 'the_excerpt()' and add the post link in the title tag so that the user can open the full post.
if ( have_posts() ) :
while ( have_posts() ) : the_post();
    the_title( '<h2><a href="' . get_permalink() . '">', '</a></h2>' );
    the_excerpt();
    echo '<hr>';
endwhile;
endif; 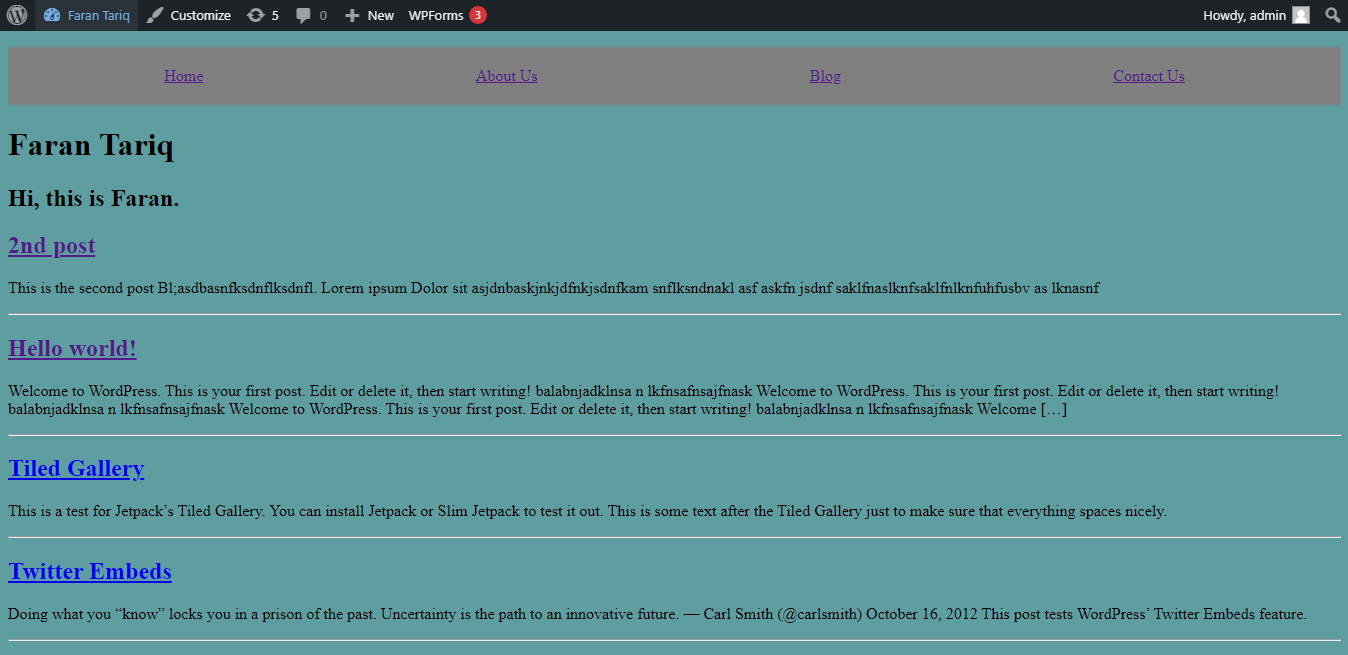
Everything looks fine. However, there's a problem, if you click on any of the posts to read the full content, it will still only show the excerpt.
The reason this is happening is because we only have one template file 'index.php'. Our 'index.php' is dictating how every page is to be displayed, whether it's the Homepage or a single post page. And since we have changed 'the_content' to 'the_excerpt' it will display post excerpt on every page.
The solution to our problem is simple, we'll have to check whether it's a single post, if it is, we'll show the complete content, if it's not, we'll show the excerpt.
if ( have_posts() ) :
    while ( have_posts() ) : the_post();
        if( is_singular() ) {
            the_title( '<h2>', '</h2>' );
            the_content();
        }
        else {
            the_title( '<h2><a href="' . get_permalink() . '">', '</a></h2>' );
            the_excerpt();
            echo '<hr>';
        }
    endwhile;
endif;
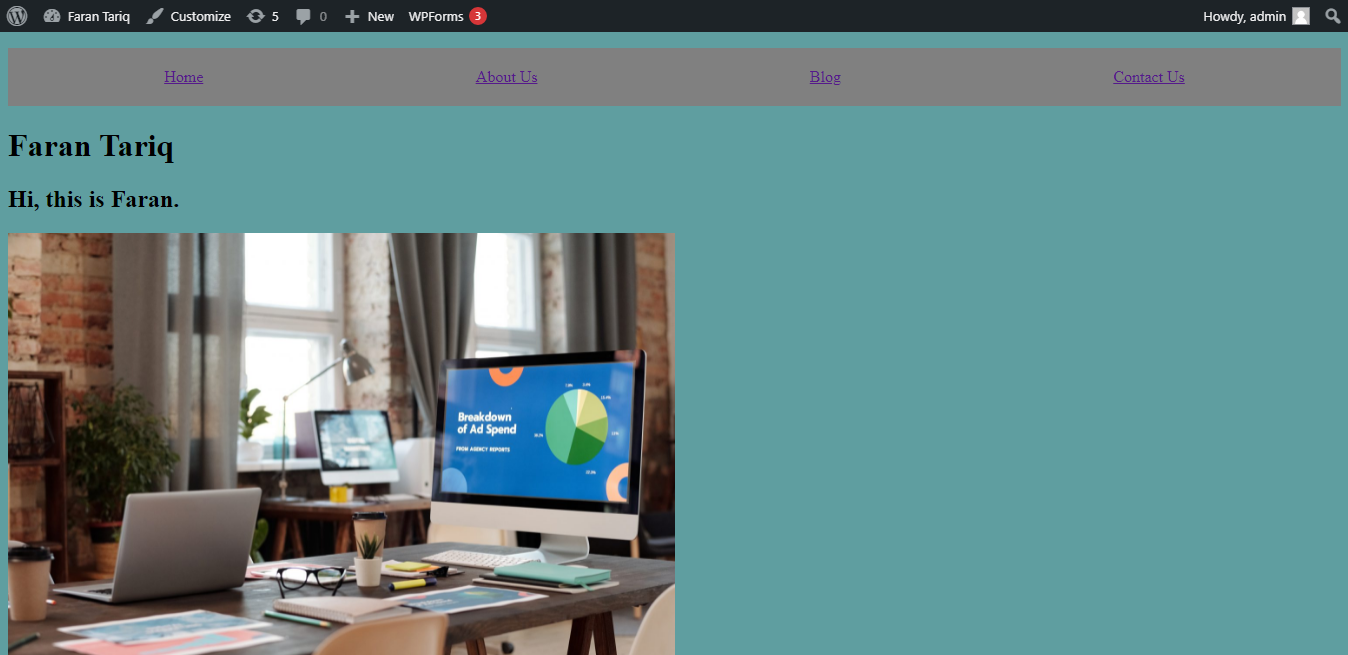
Lets also add post thumbnails to the posts using 'the_post_thumbnail()' template tag.
if ( have_posts() ) :
    while ( have_posts() ) : the_post();
        if( is_singular() ) {
            the_post_thumbnail();
            the_title( '<h2>', '</h2>' );
            the_content();
        }
        else {
            the_post_thumbnail();
            the_title( '<h2><a href="' . get_permalink() . '">', '</a></h2>' );
            the_excerpt();
            echo '<hr>';
        }
    endwhile;
endif;
To add a before and after post link:
if ( have_posts() ) :
    while ( have_posts() ) : the_post();
        if( is_singular() ) {
            the_post_thumbnail();
            the_title( '<h2>', '</h2>' );
            the_content();
            previous_post_link();
            next_post_link();
        }
        else {
            the_post_thumbnail();
            the_title( '<h2><a href="' . get_permalink() . '">', '</a></h2>' );
            the_excerpt();
            echo '<hr>';
        }
    endwhile;
endif; 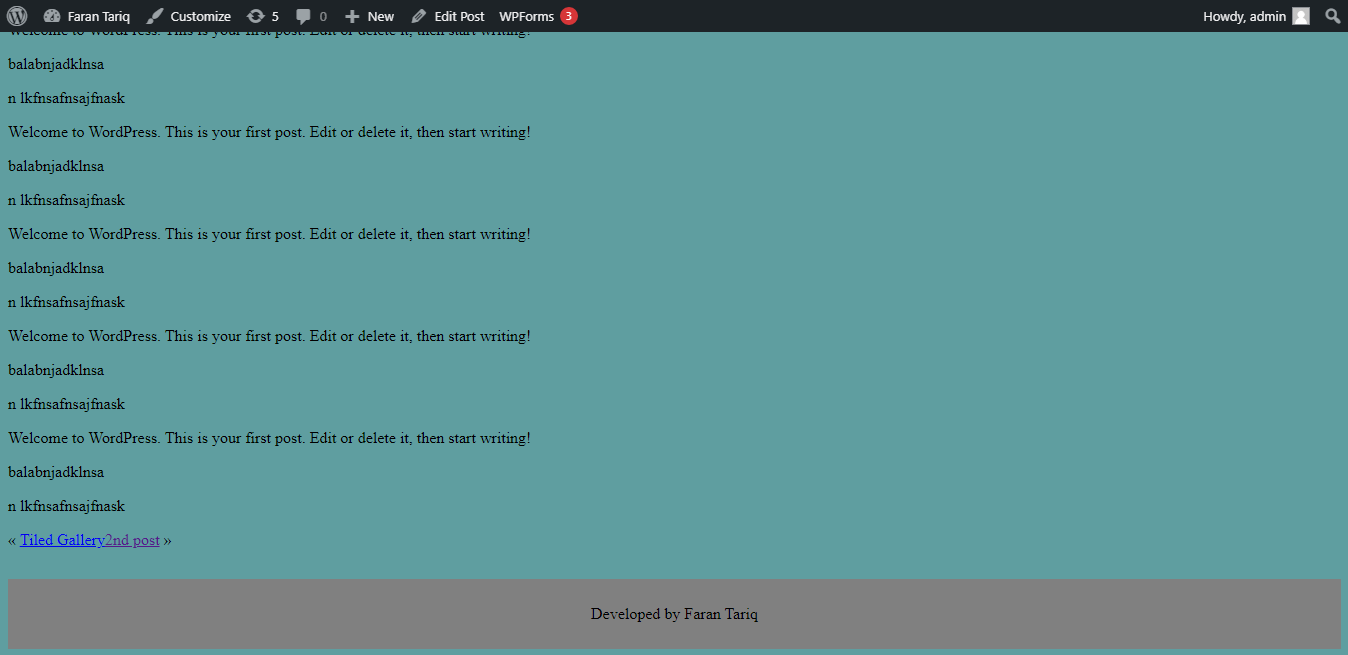
Our theme is pretty much complete now. In the next part of this tutorial we'll learn how to add more customization options in the Customizer API.