


Developing a WordPress Theme from Scratch - Part 1
If you don't have have WordPress locally installed, you can install it through Local by Flywheel.
How WordPress Themes Work
WordPress themes are basically HTML and CSS(sometimes JavaScript too) webpages with the addition of WordPress "Template tags" and "Hooks"(We'll learn about Hooks later).
Template tags are WordPress specific tags that make WordPress dynamic and customizable.
If you've ever used a WordPress theme you may have seen what is known as "Customizer API".
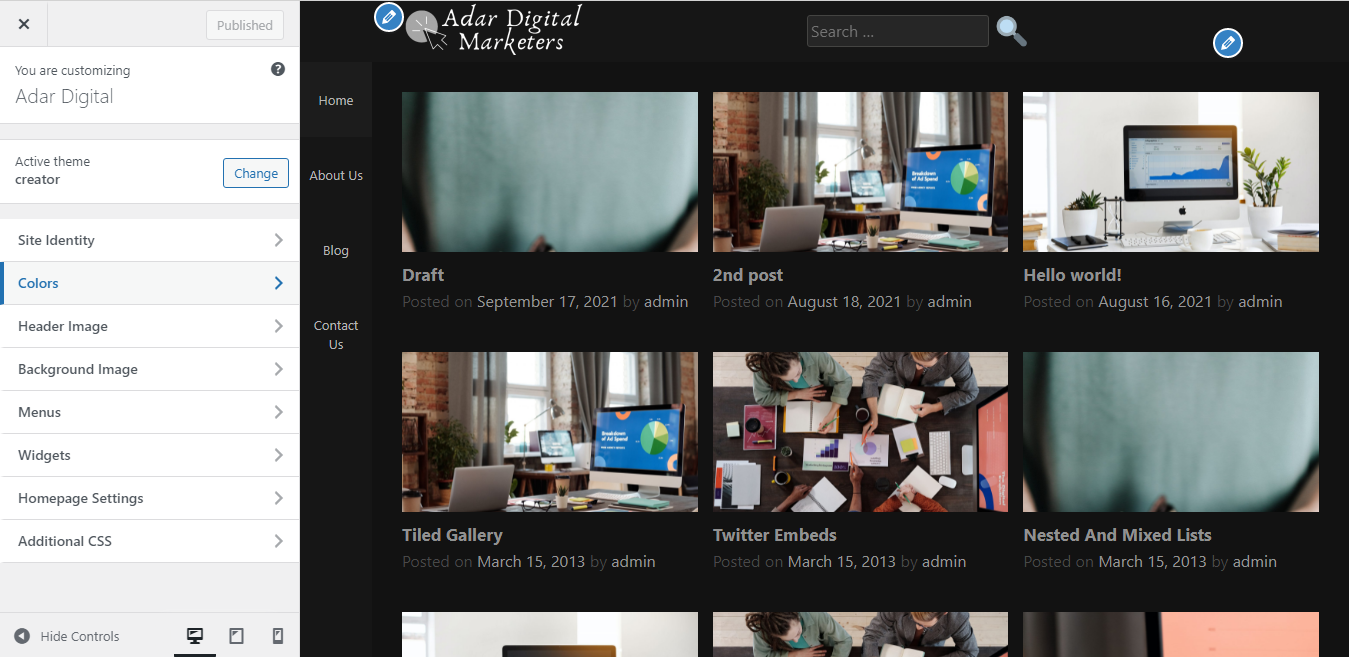
Customizer API is the white panel on the left with theme customization options.
Through the Customizer API you can change the colors and paddings etc. of your website. What makes the change happen under the hood? 'Template tags'.
Instead of hardcoding HTML and CSS values, to make the theme customizable, we place template tags in CSS and HTML that we want to make customizable.
For Example: To make the header background-color customizable we'll write something like this in our css: header {background-color: 'template tag'}.
Now that you have an understanding of how WordPress themes work, we'll start developing our theme.
Developing WordPress Theme
WordPress uses 'Template Files' to display pages, posts and sections of pages and posts.
Template Files are PHP files that contain a mixture of HTML, Template Tags, and PHP code.
For example, to display the header of your site you can use 'header.php'.
Technically only two files are required in a WordPress theme, these are: 'index.php' and 'style.css'.
index.php can be used as a catch-all template file, which is to say that if no other template files are used it will define how every single page and post is to be displayed.
style.css along with defining the css styling of the theme also provides WordPress with meta data about the theme, such as 'Theme name', 'Theme Author' etc.
Head to your local WordPress installation and inside your themes folder create a folder with your theme name.
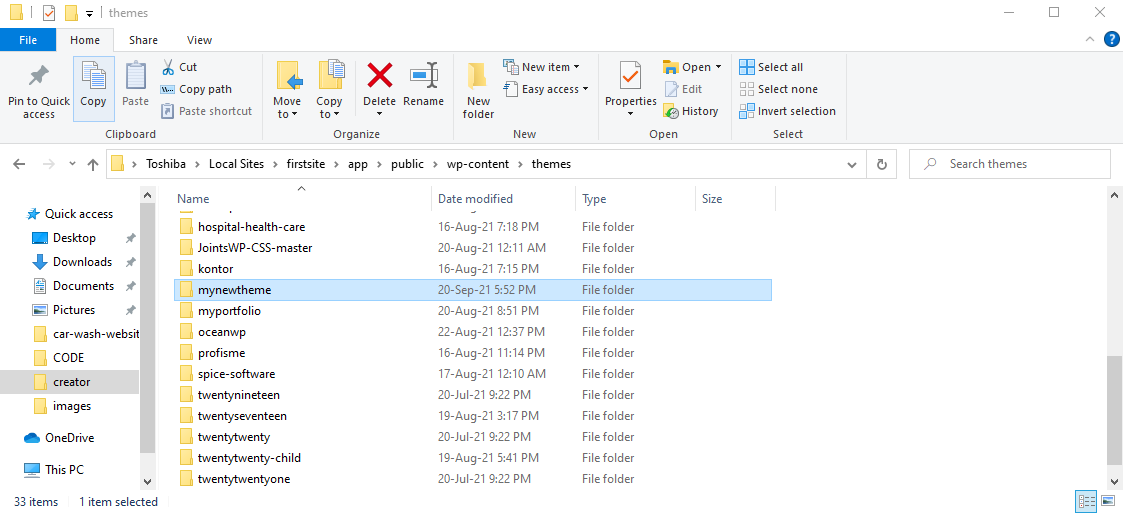
Create a style.css file inside your theme folder. At the top of your style.css file you'll pass your theme's meta information.
    /*
    Theme Name: Twenty Twenty
    Theme URI: https://wordpress.org/themes/twentytwenty/
    Author: the WordPress team
    Author URI: https://wordpress.org/
    Description: Our default theme for 2020 is designed to take full advantage of the flexibility of the block editor. Organizations and businesses have the ability to create dynamic landing pages with endless layouts using the group and column blocks. The centered content column and fine-tuned typography also makes it perfect for traditional blogs. Complete editor styles give you a good idea of what your content will look like, even before you publish. You can give your site a personal touch by changing the background colors and the accent color in the Customizer. The colors of all elements on your site are automatically calculated based on the colors you pick, ensuring a high, accessible color contrast for your visitors.
    Tags: blog, one-column, custom-background, custom-colors, custom-logo, custom-menu, editor-style, featured-images, footer-widgets, full-width-template, rtl-language-support, sticky-post, theme-options, threaded-comments, translation-ready, block-styles, wide-blocks, accessibility-ready
    Version: 1.3
    Requires at least: 5.0
    Tested up to: 5.4
    Requires PHP: 7.0
    License: GNU General Public License v2 or later
    License URI: http://www.gnu.org/licenses/gpl-2.0.html
    Text Domain: twentytwenty
    This theme, like WordPress, is licensed under the GPL..
    Use it to make something cool, have fun, and share what you've learned with others
    */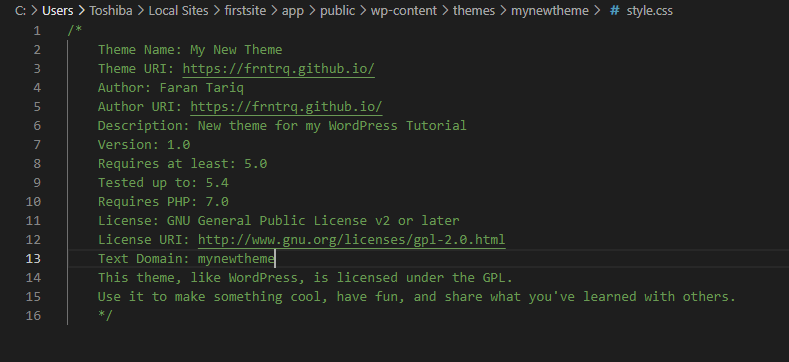
Paste the above code at the top of your style.css file and make changes as you like.
Now create an index.php file.
Inside the index.php file create the basic HTML structure:
<!DOCTYPE html>
<html>
<head>
<meta charset="UTF-8">
<meta http-equiv="X-UA-Compatible" content="IE=edge">
<meta name="viewport" content="width=device-width, initial-scale=1.0">
<title>My New Theme</title>
</head>
<body>
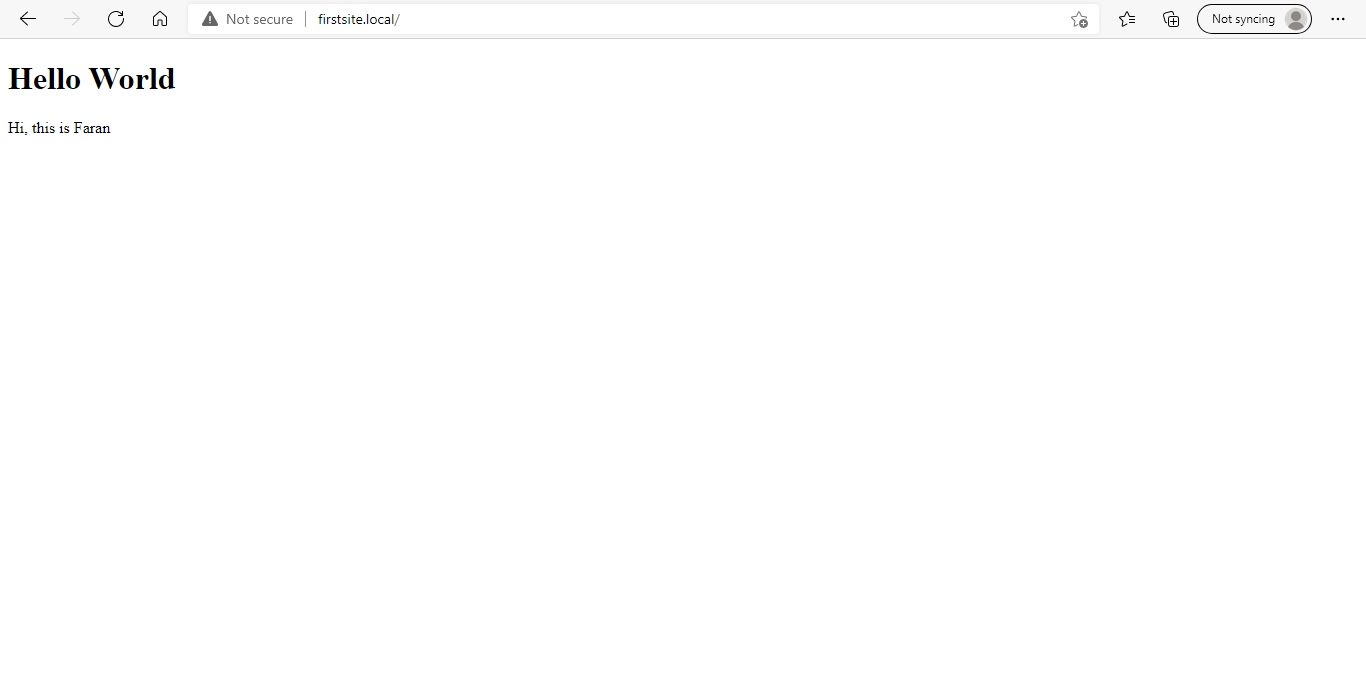
<h1>Hello World</h1>
<p>Hi, this is Faran.</p>
</body>
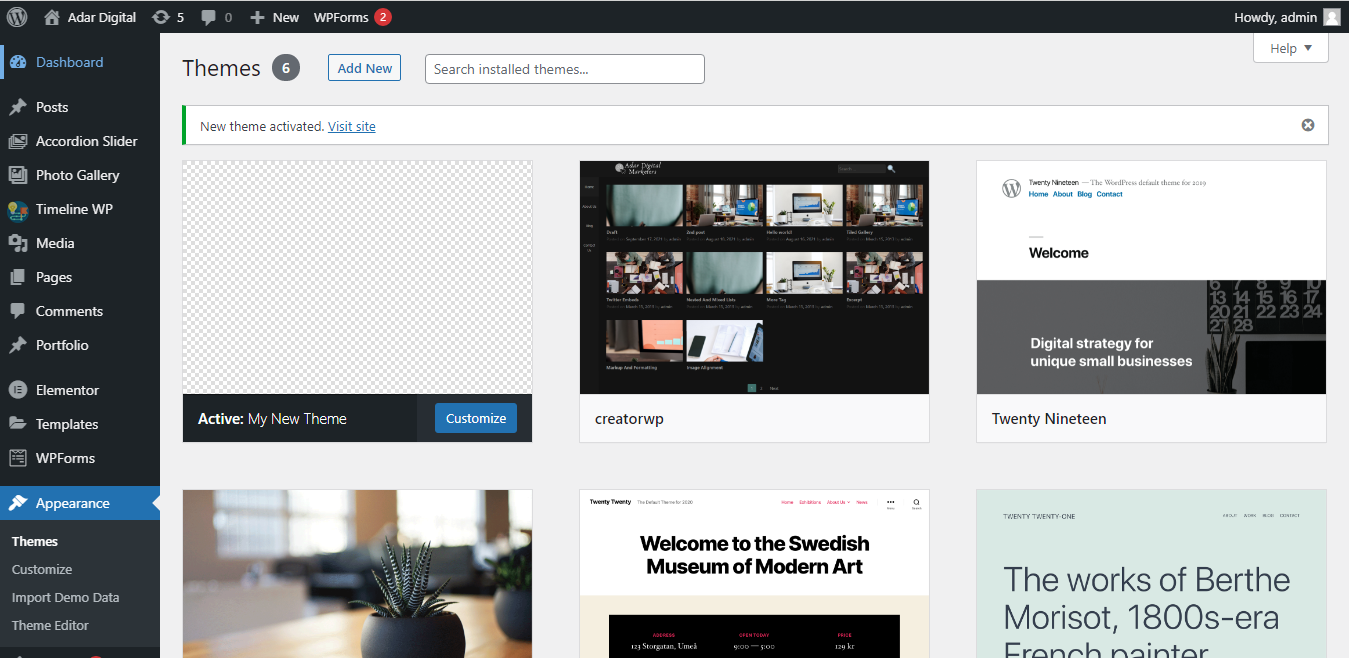
</html>Now lets head to our WordPress site and activate our theme.
This is how it looks:
Well our theme is working now, however it is completely hardcoded and there is no way for a user to add content without modifying the code.
We'll now add template tags to make the theme dynamic.
bloginfo() is a WordPress template tag used to display information about the site. It can take in many different parameters to display different information about the website. You can see the full list of parameters here: bloginfo()
Lets use it to display the Website name, description and charset.
 <!DOCTYPE html>
        <html>
            <head>
                <meta charset="<?php bloginfo( 'charset' ); ?>">
                <meta http-equiv="X-UA-Compatible" content="IE=edge">
                <meta name="viewport" content="width=device-width, initial-scale=1.0">
                <title>My New Theme</title>
            </head>
            <body>
                <h1><?php bloginfo( 'name' ); ?></h1>
                <h2><?php bloginfo( 'description' ); ?></p>
            </body>
        </html>
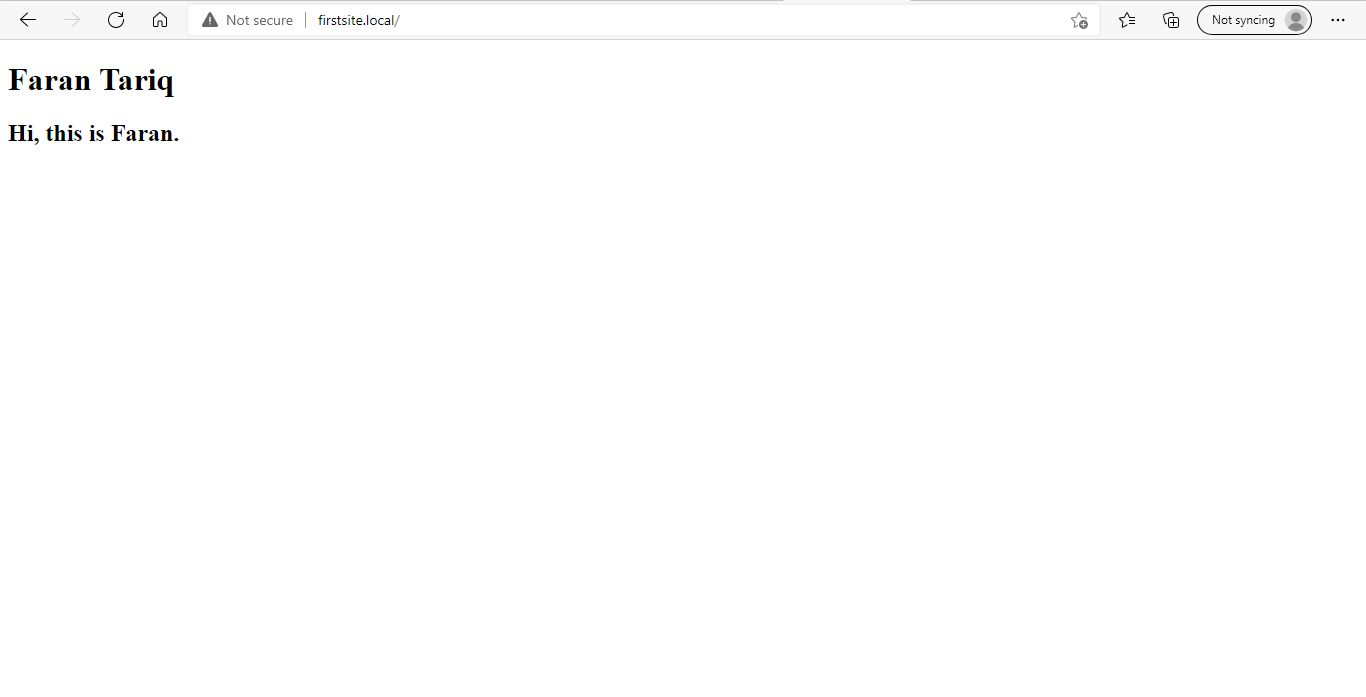
We can now see a dynamic site title and description, However we can't see any posts. To display posts WordPress uses what is known as 'The Loop'.
The Loop
The basic loop is:
    <?php
    if ( have_posts() ) :
        while ( have_posts() ) : the_post();
            // Display something
        endwhile;
    endif;
    ?>
The loop checks if there are posts, if there are, it displays something which we spicify, for every post.
To display the title and content for every post we can add 'the_title()' and 'the_content()' template tags inside the while loop.
    <?php
    if ( have_posts() ) :
        while ( have_posts() ) : the_post();
            the_title();
            the_content();
        endwhile;
    endif;
    ?>
Your index.php should look like this:
    <!DOCTYPE html>
    <html>
        <head>
            <meta charset="<?php bloginfo( 'charset' ); ?>">
            <meta http-equiv="X-UA-Compatible" content="IE=edge">
            <meta name="viewport" content="width=device-width, initial-scale=1.0">
            <title>My New Theme</title>
        </head>
        <body>
            <h1><?php bloginfo( 'name' ); ?></h1>
            <h2><?php bloginfo( 'description' ); ?></p>
            <?php
            if ( have_posts() ) :
                while ( have_posts() ) : the_post();
                    the_title();
                    the_content();
                endwhile;
            endif;
            ?>
        </body>
    </html>
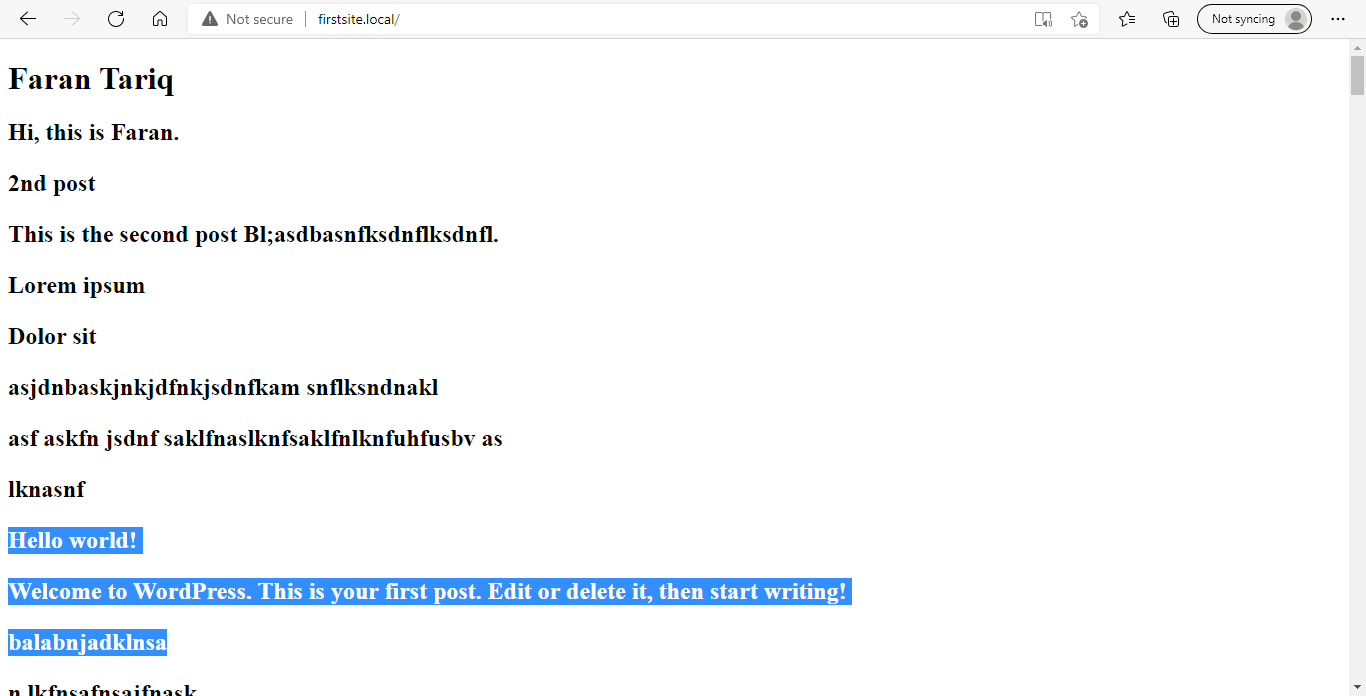
We can now see the posts' titles and content but it's all mixed together, its hard to tell where a post starts and where it ends, so lets add an 'hr' tag to separate the posts.
There are two ways to add html inside php.
One is to use 'echo':
    <?php
    if ( have_posts() ) :
        while ( have_posts() ) : the_post();
            the_title();
            the_content();
            echo '<hr>';
        endwhile;
    endif;
    ?>
Other is to close the php tag, add html, reopen php tag:
    <?php
    if ( have_posts() ) :
        while ( have_posts() ) : the_post();
            the_title();
            the_content();
            ?>
            <hr>
            <?php
        endwhile;
    endif;
    ?>
Our site should look like this now:
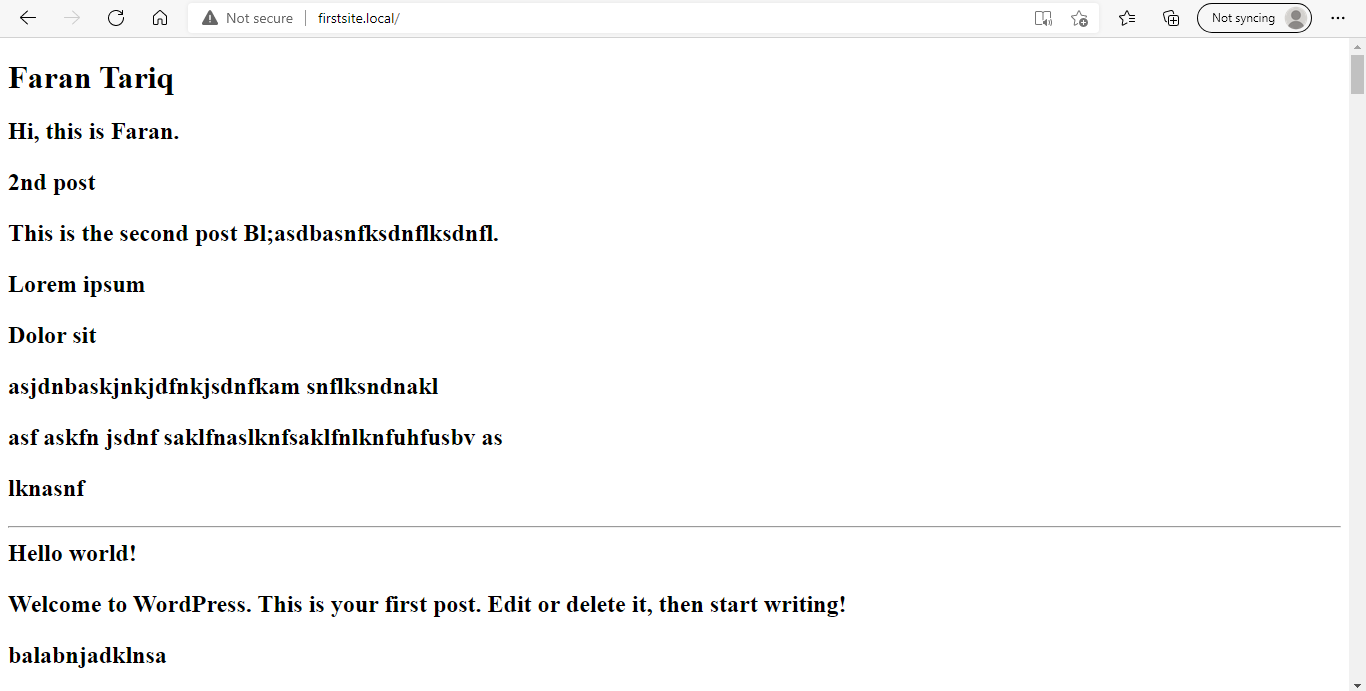
It doesn't look great but it works now.
Let's change the background-color in our style.css.
    /*
    Theme Name: My New Theme
    Theme URI: https://frntrq.github.io/
    Author: Faran Tariq
    Author URI: https://frntrq.github.io/
    Description: New theme for my WordPress Tutorial
    Version: 1.0
    Requires at least: 5.0
    Tested up to: 5.4
    Requires PHP: 7.0
    License: GNU General Public License v2 or later
    License URI: http://www.gnu.org/licenses/gpl-2.0.html
    Text Domain: mynewtheme
    This theme, like WordPress, is licensed under the GPL.
    Use it to make something cool, have fun, and share what you've learned with others.
    */

    body {
        background-color: cadetblue;
    }
Now lets link the syle.css with our index.php. To link style.css we use the 'get_stylesheet_uri()' template tag.
    <!DOCTYPE html>
    <html>
        <head>
            <meta charset="<?php bloginfo( 'charset' ); ?>">
            <meta http-equiv="X-UA-Compatible" content="IE=edge">
            <meta name="viewport" content="width=device-width, initial-scale=1.0">
            <title>My New Theme</title>
            <link rel="stylesheet" href="<?php echo esc_url( get_stylesheet_uri() ); ?>" type="text/css" />
        </head>
        <body>
            <h1><?php bloginfo( 'name' ); ?></h1>
            <h2><?php bloginfo( 'description' ); ?></p>
            <?php
            if ( have_posts() ) :
                while ( have_posts() ) : the_post();
                    the_title();
                    the_content();
                    echo '<hr>';
                endwhile;
            endif;
            ?>
        </body>
    </html>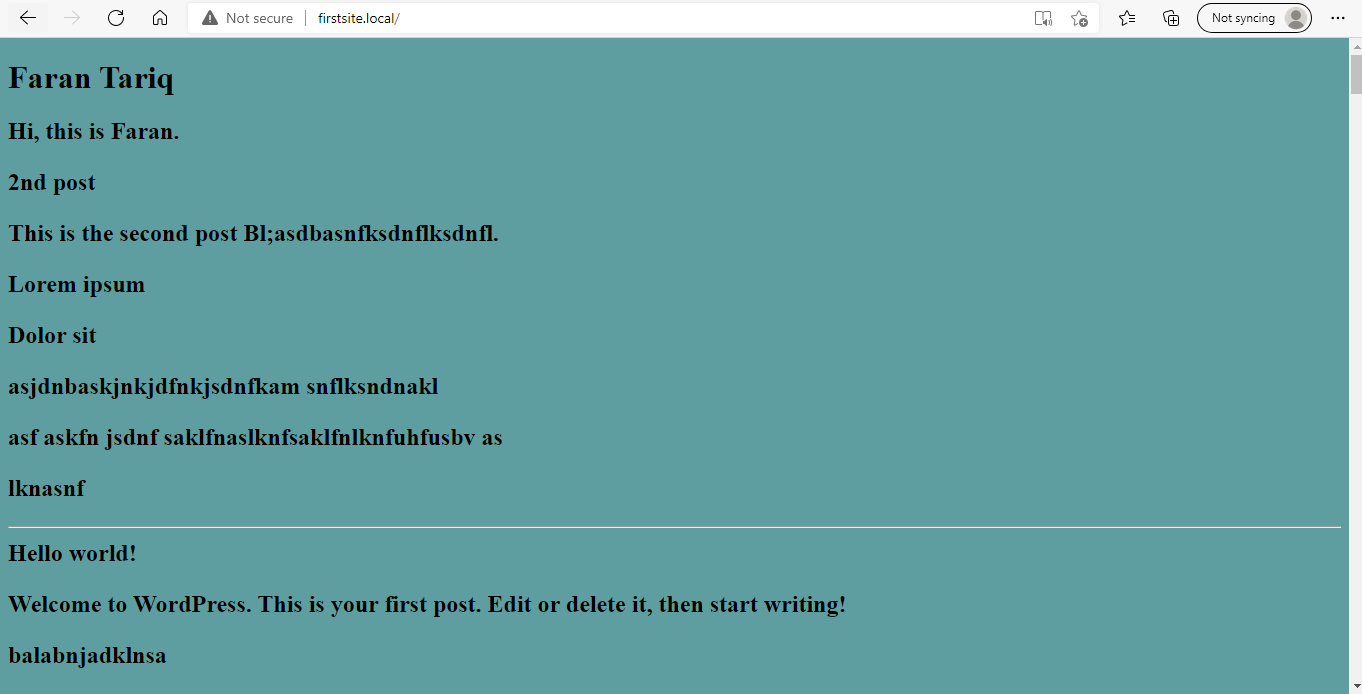
This is what our theme looks like now.
There are two important template tags that WordPress core and plugins use to insert scripts, style etc. in a theme. These are 'wp_head()' and 'wp_footer()'.
'wp_head' should be added before the closing head tag and 'wp_footer' should be added before the closing body tag.
    <!DOCTYPE html>
    <html>
        <head>
            <meta charset="<?php bloginfo( 'charset' ); ?>">
            <meta http-equiv="X-UA-Compatible" content="IE=edge">
            <meta name="viewport" content="width=device-width, initial-scale=1.0">
            <title>My New Theme</title>
            <link rel="stylesheet" href="<?php echo esc_url( get_stylesheet_uri() ); ?>" type="text/css" />
            <?php wp_head(); ?>
        </head>
        <body>
            <h1><?php bloginfo( 'name' ); ?></h1>
            <h2><?php bloginfo( 'description' ); ?></p>
            <?php
            if ( have_posts() ) :
                while ( have_posts() ) : the_post();
                    the_title();
                    the_content();
                    echo '<hr>';
                endwhile;
            endif;
            ?>
            <?php wp_footer(); ?>
        </body>
    </html>

There is not much change however if you are logged in your WordPress, admin bar should now appear at the top. The admin bar is loaded by wp_footer.
If you click the customize button at the top, customizer api will open up and there are already some customization options.

Still our site is not very customizable right now, all the posts are being loaded on one page and our theme is pretty basic.
In the next part we'll take this theme to the next level by adding more pages and files and adding more customization options among other things.